How to Measure for a Shower Screen
Do you need a shower screen? Give us a call or send us a message
A Step-by-Step Guide
At Casse Glass, we understand that the perfect shower screen can transform your bathroom, adding both style and functionality. Whether you’re renovating or installing a new shower screen, getting accurate measurements is crucial for a flawless fit. Follow our step-by-step guide to ensure your new shower screen fits perfectly in your bathroom.
Step 1: Gather Your Tools
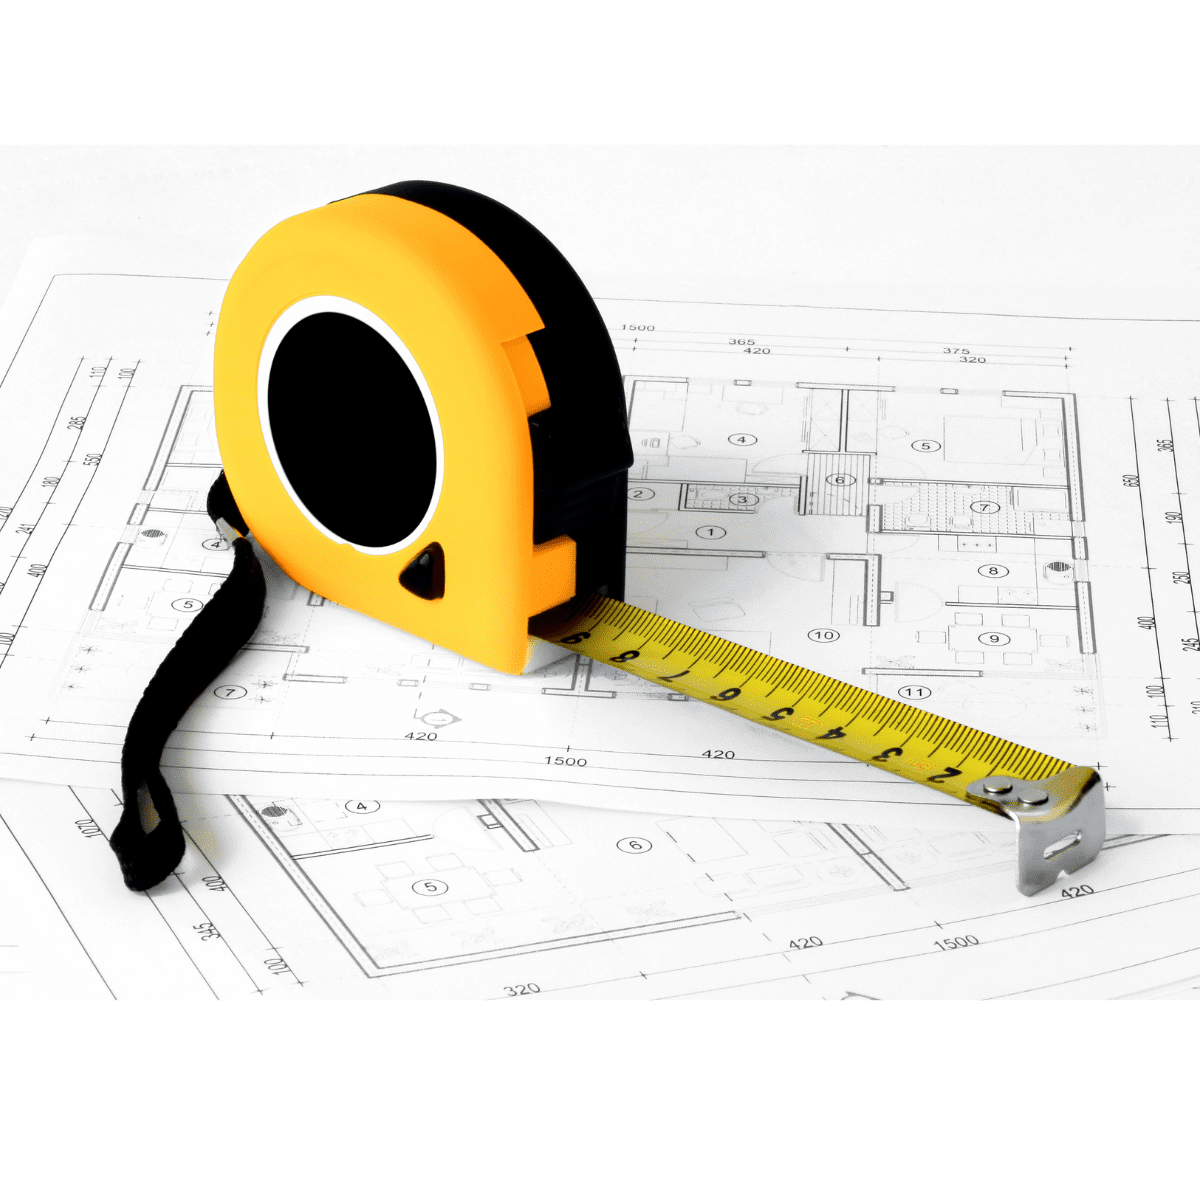
Before you start measuring, make sure you have the following tools on hand:
- Measuring tape
- Pencil and paper
- Spirit level or laser line
- Step ladder (if needed)
Step 2: Measure the Width
- Identify the Space:
– Determine where you want your shower screen to be installed. This could be between two walls (a wall to wall shower screen), in a corner (a front & return shower screen), or as a single panel. - Measure at Three Points for wall to wall shower screen:
– Measure the width of the space at the top, middle, and bottom. This helps account for any variations in the wall. Allowing the shower screen to fit correctly from top to bottom. - Check for Level:
– Use a spirit level to ensure the walls are vertical. If they are not, measure the shower screen to the exact opening for a correct fit. If both walls show they are out of square use a laser line in the centre of the opening and measure each side direct to the laser line. ( The laser line creates a square line to measure to and ensures the correct sizing)
Step 3: Measure the Height
- Determine the Height:
– Decide how tall you want your shower screen to be. Standard heights are usually between 1.8 to 2.0 meters, but custom screens can be made to fit your preferences. Meeting a tile line or architrave makes the shower screen aesthetically appealing. - Measure from the Base:
– Measure from the base (shower floor or edge of the bathtub) to the desired height at both ends of where the screen will be installed.
– Again, check if the floor is level. If the base is not level, make an allowance in measurement for a correct fit.
Step 4: Measure the Depth (for Enclosures)
- Corner Showers:
– For corner showers, measure the size from the wall to the corner on both sides. Measure to the outside point to where you want the shower screen to finish.
Step 5: Consider Door Openings
- Swing or Sliding Doors:
– If your shower screen includes a door, make sure to measure the space needed for the door to open fully.
– For swing doors, measure the clearance needed to ensure the door does not hit any obstacles. E.g. doors, towel rails or toilet/vanity. Standard size door is 650mm wide.
– For sliding doors, measure the width and ensure there is enough space for the door to slide open completely. Front only shower screens below 950 in width will have a tighter fit in regard to door space.
Step 6: Double-Check Your Measurements
- Review Your Notes:
– Go through all your measurements again to ensure accuracy. It’s better to double-check now than to face issues during installation. - Consult with Professionals:
– If you’re unsure about any measurements, contact the experts at Casse Glass. Our team can provide guidance and ensure your custom-made shower screen fits perfectly.
Step 7: Contact Casse Glass
Once you have your measurements, contact us at Casse Glass to discuss your custom-made shower screen. Our experienced team will work with you to create a shower screen that fits your space perfectly and enhances the look of your bathroom.
At Casse Glass, we specialise in designing and installing high-quality, custom-made shower screens. With our expertise and commitment to customer satisfaction, we ensure a seamless process from measurement to installation. View the different types of shower screens we have on offer.
